Internet Explorer discontinued as of june 2022. Functionalities such as removing an uploaded file or offering unzipped download to a folder of choice, were developped specifically for Internet Explorer. This functionality is no longer available. If you would require this kind of automation, Isabel group proposes Isabel Connect. |
![]()
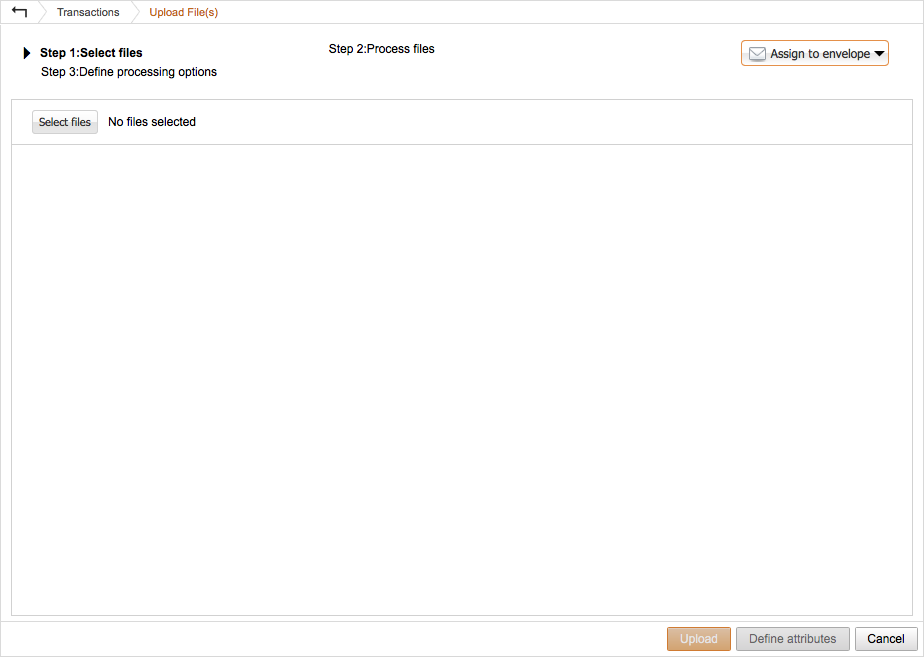
The following attributes can be defined:
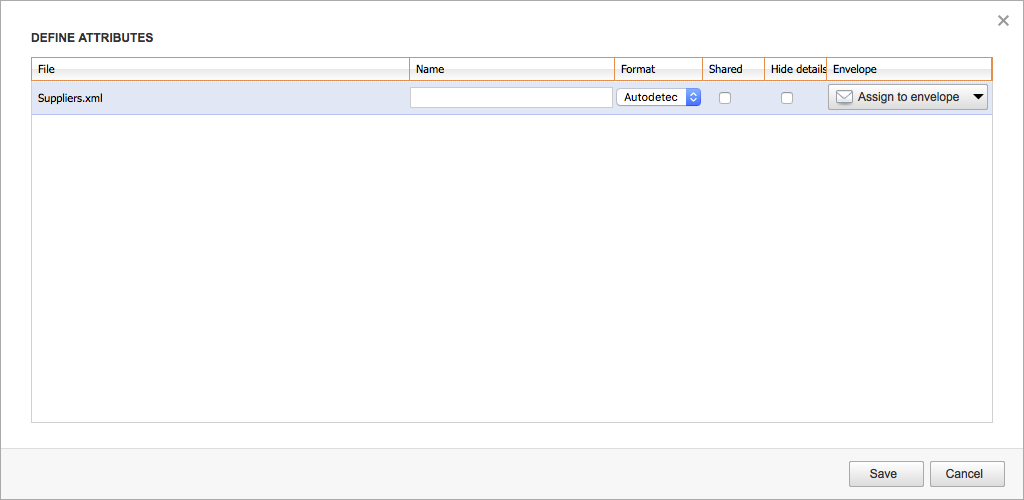
After having defined the attributes, click on Save to confirm and proceed.

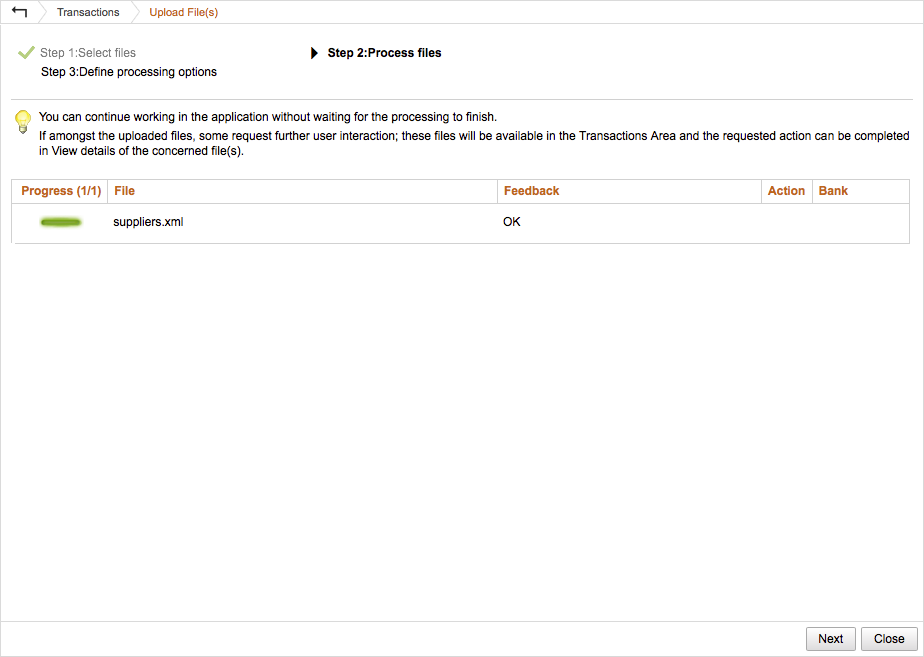
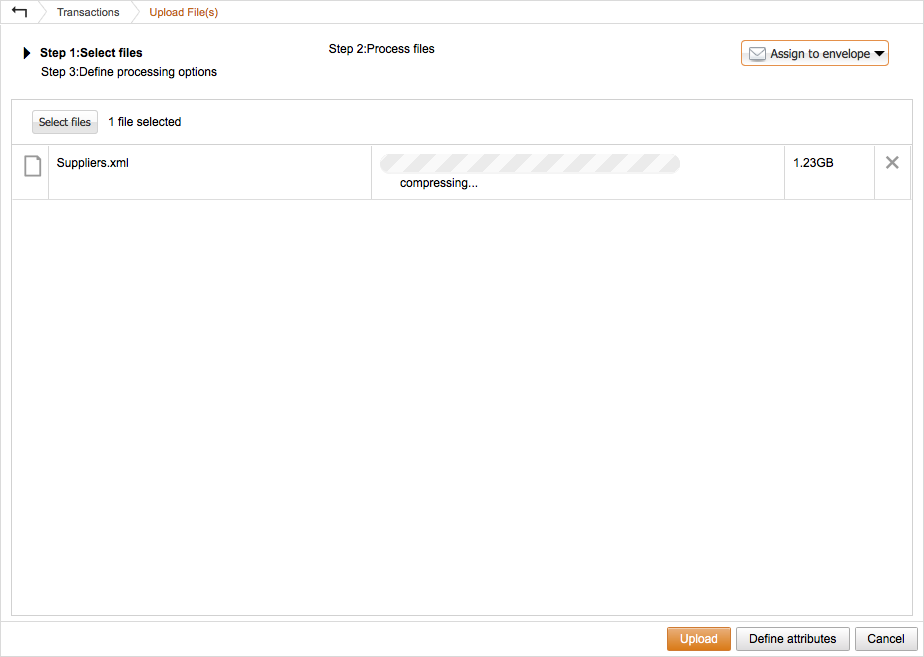
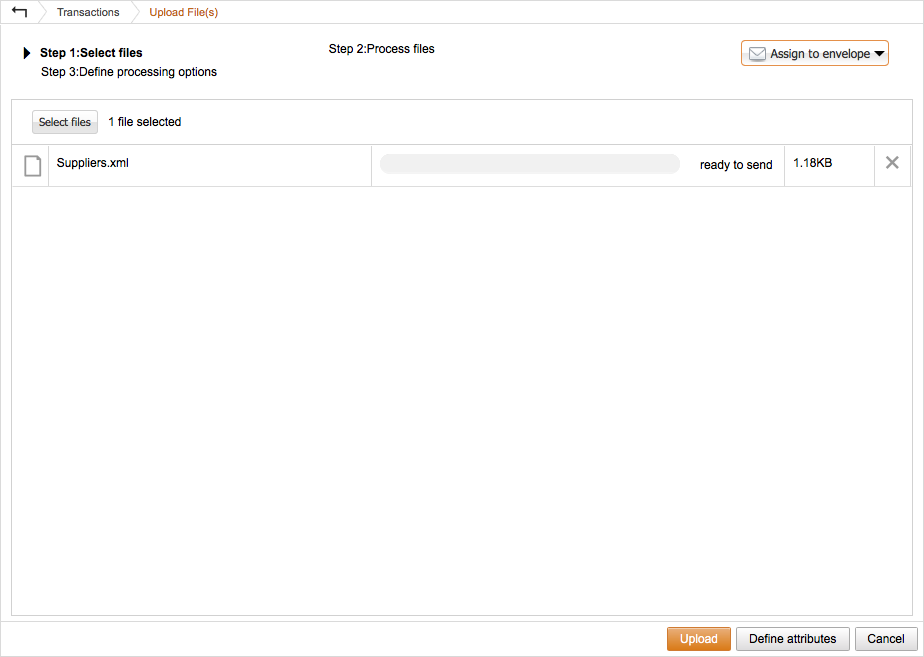
Once the upload process is complete, your files will be processed. This process might take some time depending on the amount of transactions and the complexity of the configured signing rights.

Note: In the Preferences > Transactions you can automatically activate the options "Sign immediately" and "Send when sufficiently signed".
![]()
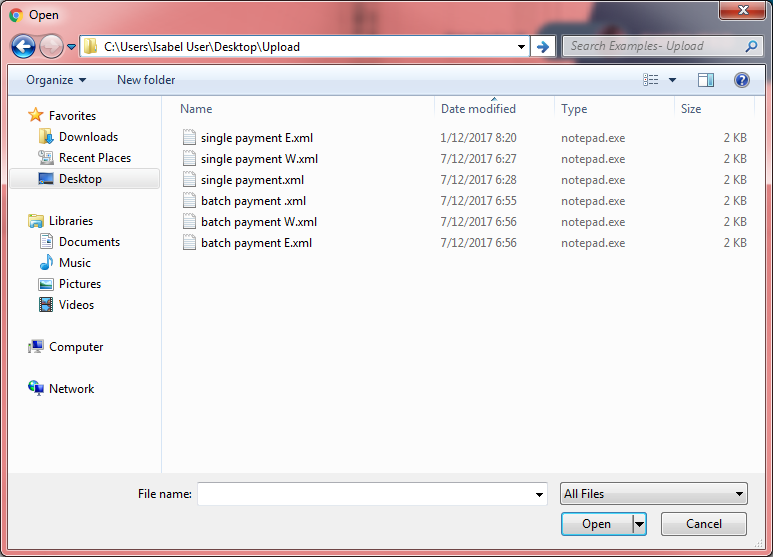
The following attributes can be defined:
After having defined the attributes, click on Save to confirm and proceed.
Once the upload process is complete, your files will be processed. This process might take some time depending on the amount of transactions and the complexity of the configured signing rights.
Note: In the Preferences > Transactions you can automatically activate the options "Sign immediately" and "Send when sufficiently signed".
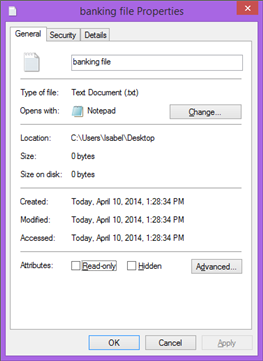
When a banking file is uploaded, Isabel 6 calculates a unique hash on it. During the signature process, the content and integrity of the file is guaranteed by this hash. You can ask your IT department to calculate this hash to compare it with the hash displayed in the detail screen an on the signature screen. This way you can assure the file you are signing is exactly the one that you created in your accounting package.